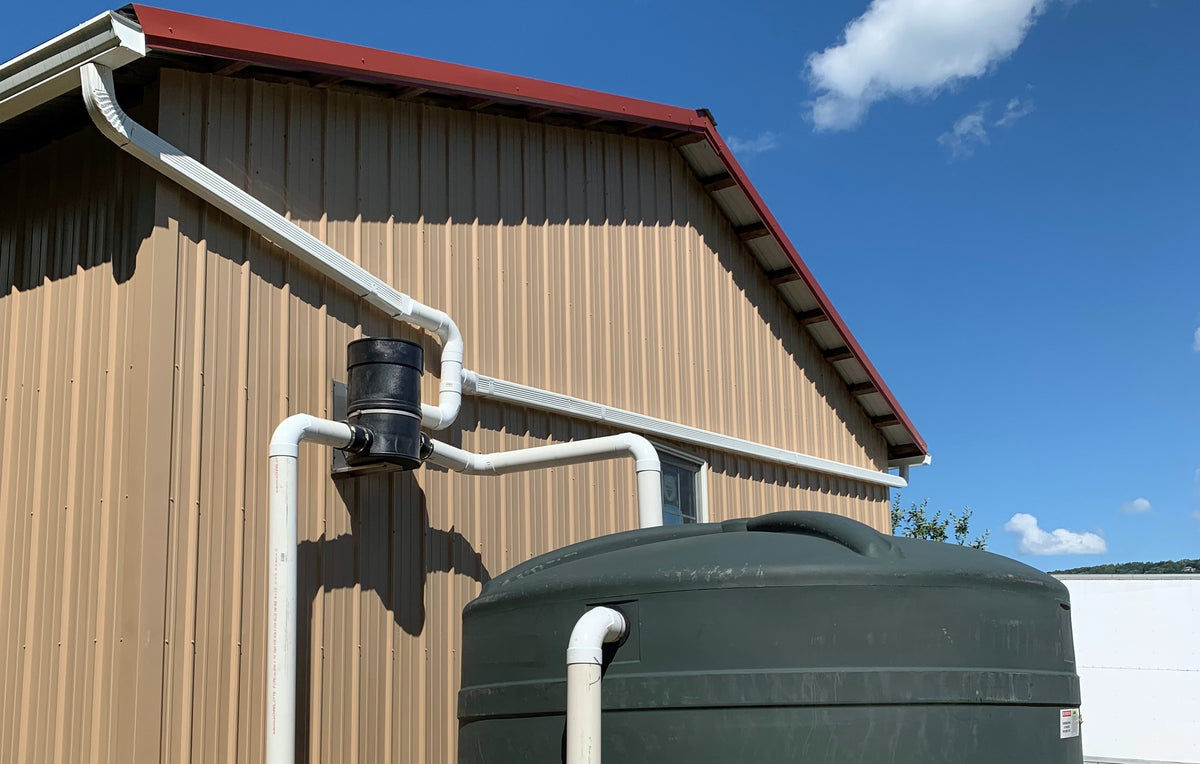
For those interested in a rainwater harvesting system, underground water storage is an appealing, low-profile solution. But you may have concerns – like how to install a water tank underground, and why spend the time, effort, and money to install a tank underground rather than above ground?
Discover the advantages of installing a water storage tank system and follow the step-by-step installation process for residential or light commercial applications. If you haven't already chosen one, you'll learn where to find the best underground rainwater storage tank for your property.
Table of Contents
Advantages of Underground Water Storage Tank Installation
There are many reasons why underground water storage tank installation is such a great idea:
- Aesthetics: Underground tanks are hidden from view, preserving the visual appeal of your landscape. They also free up valuable surface space for other uses, such as gardening, recreation, or additional structures. This is especially advantageous for smaller properties where space is at a premium.
- Protection from Elements: Placing a tank underground shields it from harsh weather conditions, including extreme temperatures, UV radiation, and storm damage. This reduces the risk of freezing in winter and overheating in summer, which can affect water quality. This protection also extends the tank's lifespan and reduces maintenance.
- Security: Being buried underground makes the tank less accessible to pests, vandals, and contaminants. This enhances the security and cleanliness of your water supply.
- Regulatory Compliance: In some areas, regulations may favor or even require underground storage solutions to meet environmental or zoning requirements.
Installing a Water Storage Tank System, Step by Step
Installing an underground water storage tank can seem like a daunting task, but with thoughtful planning and execution, it becomes manageable. The following steps will guide you through the entire process, from initial planning to final setup. Whether you're undertaking this project for a residential or light commercial application, these instructions will help ensure a successful and efficient installation.
Step 1: Planning and Preparation
Before installing an underground water tank system, be sure you have all your ducks in a row. Here are some other things to keep in mind before you get started:
- How Big?: Determining the size and location of your underground water storage tank will help you figure out the depth and size of the excavation required. This will also help you plan the trench for your water line and the placement of your catchment, plumbing, and other rainwater harvesting system components. Fill out our tank sizing form to get an accurate estimate.
- Tank Material: What's your tank made of? You may want to consider a newcomer to underground tank material: high-density polyethylene. For increased durability and resistance to environmental stressors, a rainwater tank made of HDPE is a great option.
- Know Your Soil: The nature of your soil will determine the backfill needed.
- Review Regulations: Because local and national regulations are always subject to change, it's best to check before installing your underground water tank to ensure compliance.
- Listen to the Manufacturer: Following the tank manufacturer's installation manual is critical for proper installation.
Step 2: Excavation
The excavation process is the most difficult and costly part of installing an underground water storage tank. Here are a few excavation tips to make your job smoother:
- How Deep to Dig: Digging to the correct depth and width is crucial and typically outlined in the tank manufacturer's installation guide. We recommend using tanks with ground access assemblies instead of completely buried tanks. This ensures access for maintenance and troubleshooting.
- Backfill: Ensure adequate depth for backfill to prevent tank floating.
- Trenches: Dig trenches for water lines from the tank to the pumps, connectors, and diverter.
- Don't Get Frozen Out: Consider the frost line and take precautions to prevent freezing pipes in winter.
- Environmental Considerations: To minimize environmental impact, use eco-friendly excavation practices, such as careful soil handling and native vegetation preservation.
Step 3: Install the Rainwater Storage Tank
Once the excavation is complete, it's time to set the tank in place.
- Make it Level: Ensure the area is free of root systems and has a level grade.
- Bedding: Place bedding into the hole to allow the tank to settle properly. The required depth and type of bedding depend on the size and weight of the tank. Use modern bedding materials designed to improve stability and longevity.
- Set the Tank: After placing and leveling the bedding, set your tank in the center of the hole and backfill, compacting all sides to prevent floating.
Step 4: Install Connections and Accessories
Once you've laid the tank to rest, it's time to tackle the plumbing:
- Fittings: Plumb and install fittings into your rainwater storage tank.
- Lines: Run all lines and test for leaks or loose connectors. An air compressor can help test airtight seals to prevent future leaks.
- Accessories: Install any accessories that you won't be able to access later.
Pro Tip: Using flexible piping reduces the risk of leaks and simplifies maintenance.
Step 5: Fill in the Gaps
You're almost there! With a few finishing touches, you can wrap it up:
- Filler: Finish filling in the rest of your excavation, backfilling and compacting as necessary. Use sustainable backfill materials to reduce environmental impact. Continue filling and compacting until you have removed any gaps or spaces around your tank to prevent unwanted moving or settling. If you're installing it in an area with cold winters, make sure that your underground water storage tank is situated below the frost line.
- Clean Up: Dispose of trash and make sure any landscaping that took a hit has been restored.
Pro Tip: Keep heavy equipment and machinery off the area above your rainwater storage tank. You may want to put up a fence or other obstacle to prevent someone from driving over the area.
Congratulations! Now, you're ready to use your underground water cistern.
Installation Guide: Roth 1,500 Gallon Tank Plumbing
An RMS expert shows you how to install plumbing in a Roth 1,500-gallon tank.
FAQs: How to Install a Water Tank
Below, we've answered some common questions about how to install a water tank. Please contact us if you need additional information.
What Are the Benefits of Underground Water Tank Installation?
Underground water storage tanks offer several benefits, including protection from pests, maintaining aesthetics, safeguarding against inclement weather, and avoiding drastic temperature fluctuations. They're also more secure and less obtrusive than above-ground tanks.
What Type of Backfill Material Should I Use?
The type of backfill material depends on the soil characteristics and the manufacturer's recommendations. Generally, using gravel or sand as bedding material can help stabilize the tank and prevent movement. Eco-friendly backfill options are also available to minimize environmental impact.
What Maintenance Is Required for an Underground Water Storage Tank?
Properly installed underground tanks are typically low-maintenance. Regularly inspect the system for signs of leaks, ensure that access points are clear, and monitor the water quality.
Related Articles


